

A Year with KeyShot.
As a product development firm, our primary goal is to design and engineer great products that function as envisioned. A captive, visual representation attracts users to the product and creates a great first impression. While a professional photoshoot is desirable, it takes many months of development before the product is ready for that. This is where the use of computer-generated digital renderings come in. We can create a photo-realistic representation of the final product long before the product gets to manufacturing. We were previously using Solidworks Visualize, but project needs and the desire to move to the next level dictated a switch to KeyShot. Here are five techniques that we’ve developed over the past year using KeyShot in our workflow:
Say No to Startup.hdr
One of the first steps to do after importing your model is changing the default startup.hdr scene to something with a bit more contrast. A scene with more lighting contrast makes it easy to see the surface transitions and details as you work with various materials. While you are at it, change the background to a neutral grey, from the default lighting environment, to keep you from distracting in your selection of lighting or material color.


Startup.hdr vs. 2 Panels Tilted.hdr
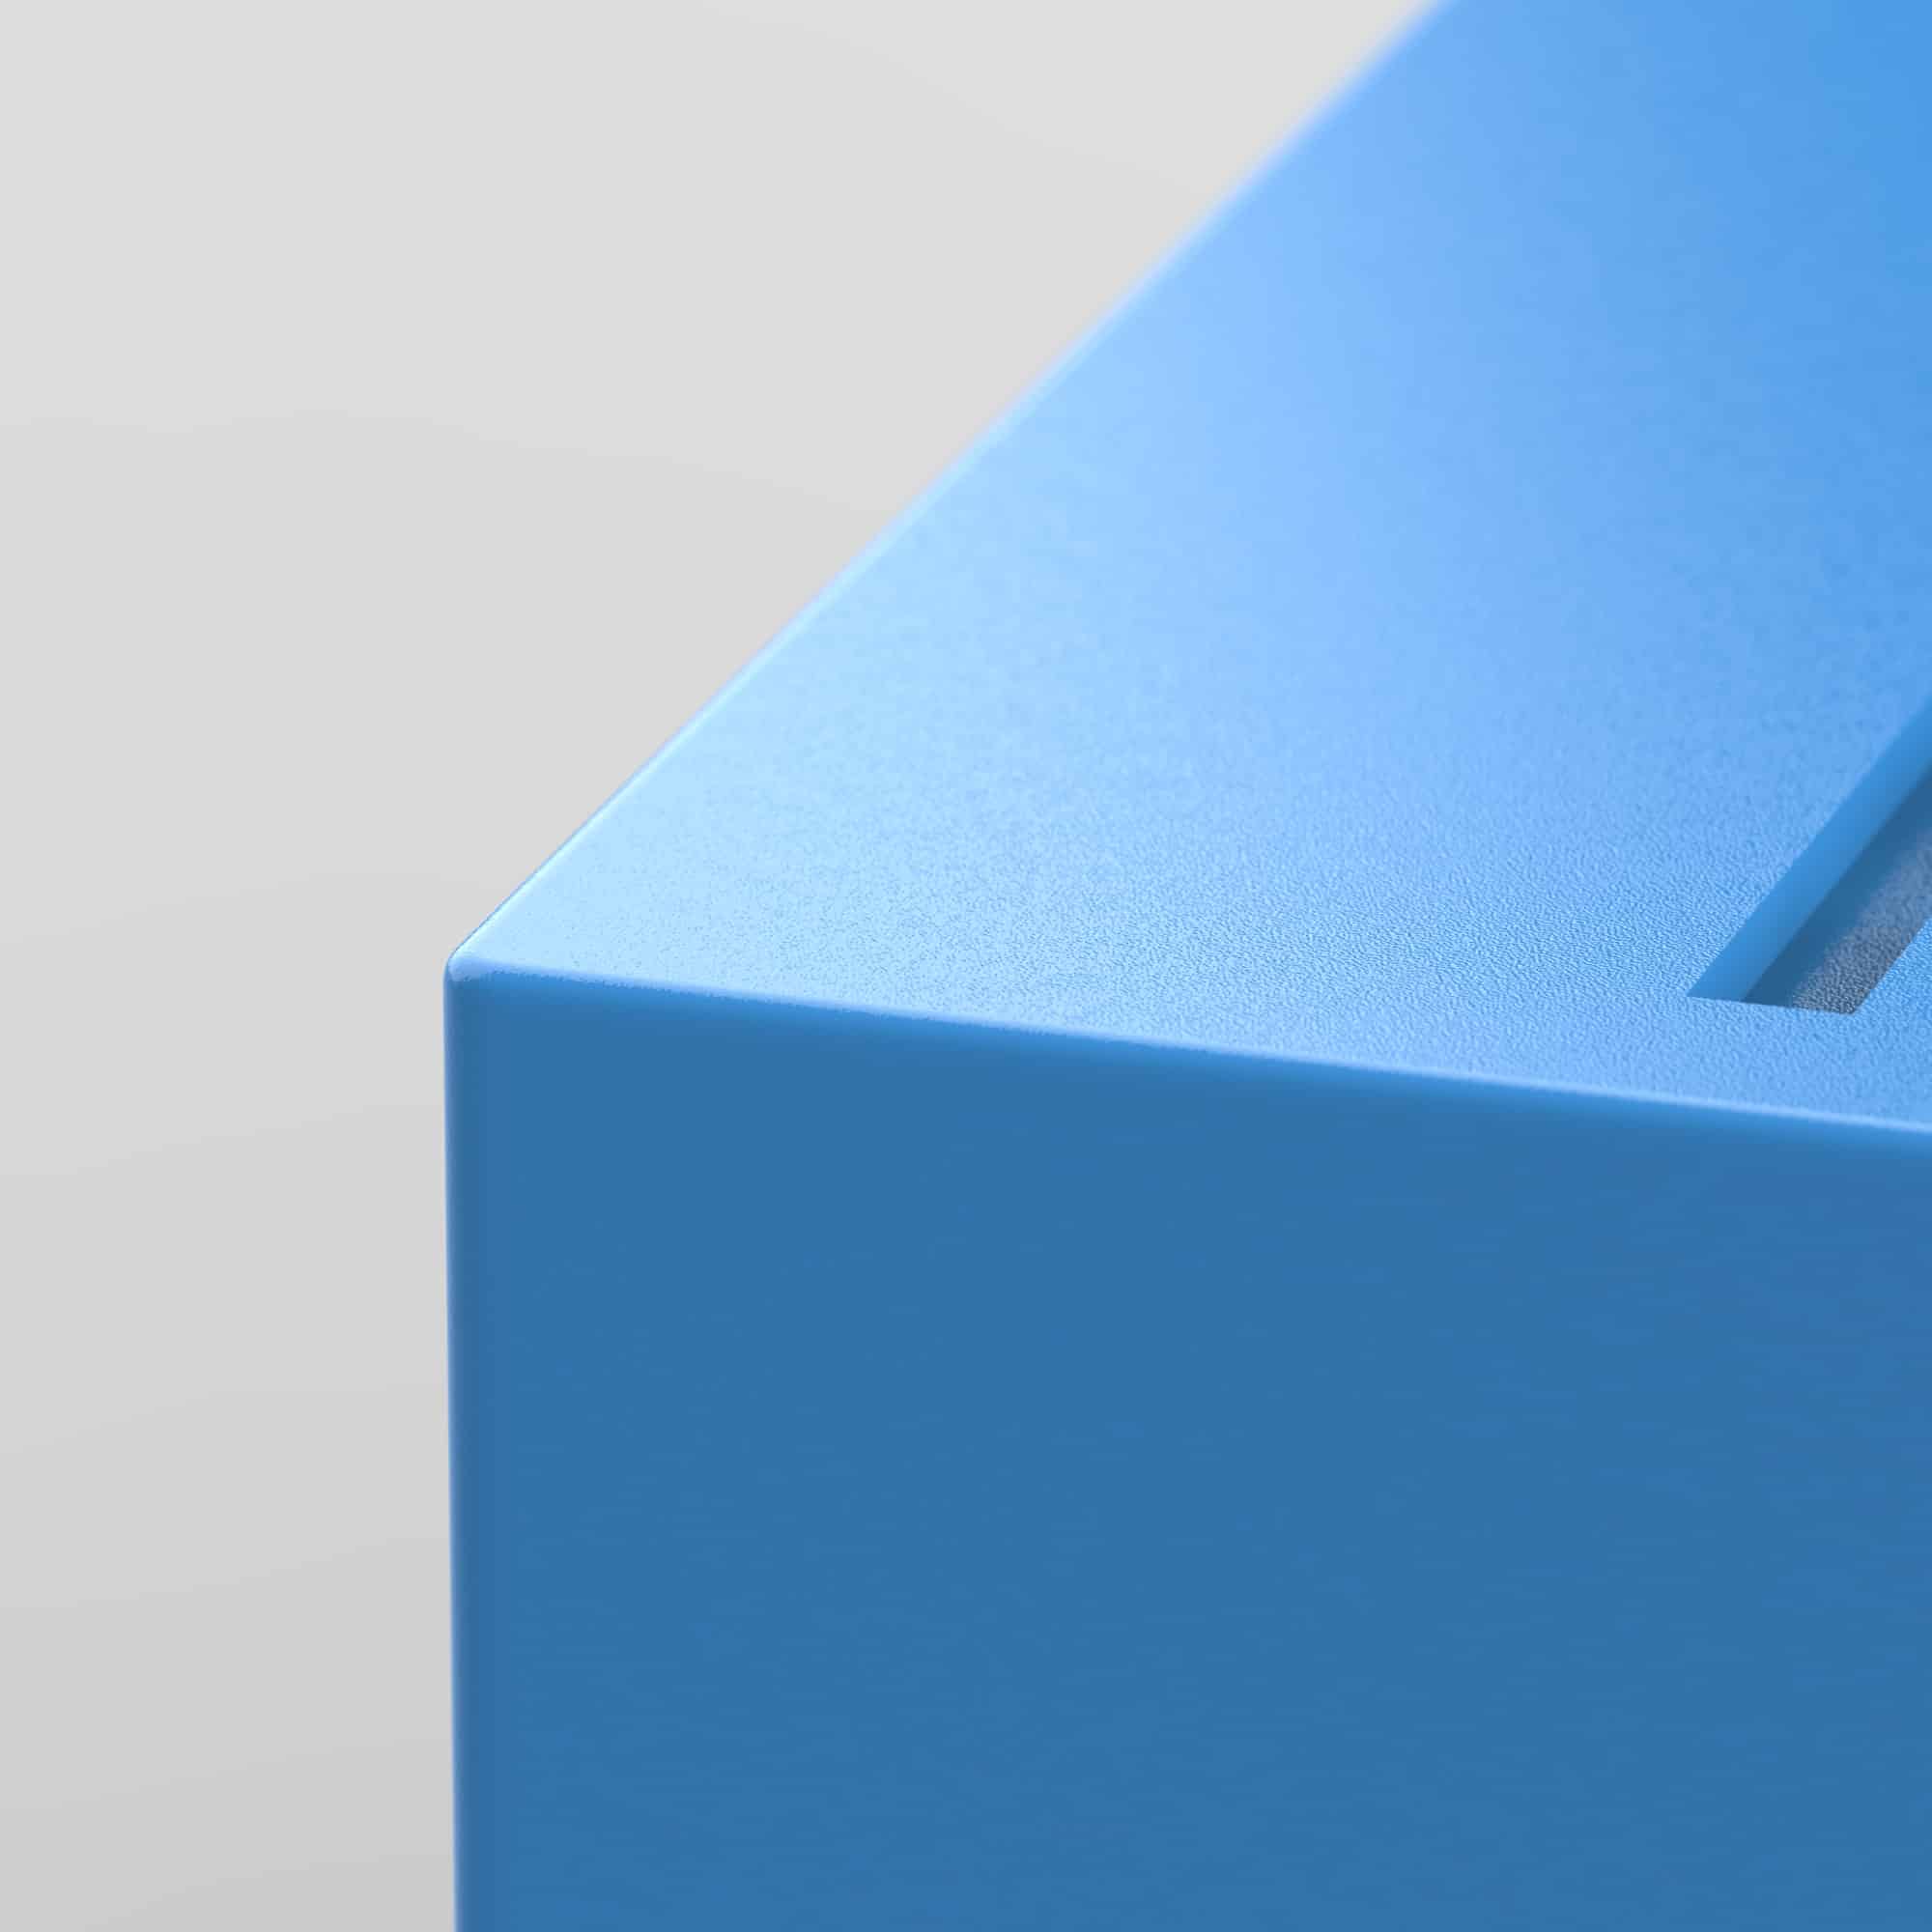
Realistic Plastic
The most common material we render in our products is injection molded plastic (typically ABS). Most plastics in production will use a Mold-Tech MT-11010 or MT-11020 texture. While it’s tempting to use the default material and throw in a bit of roughness to create the textured plastic look, a more effective way is to use a simple bump map. This technique is easier to control and less demanding of the workstation, compared to even the materials in KeyShot Tech library. The material graph is your friend here. It might be daunting at first, but the layout and interface is logical, and it is easy to navigate once you learn what the different variables at play are. A standard noise fractal texture connected to the bump node of the plastic material is all you need to start with; the texture settings can be tweaked to create the desired look.


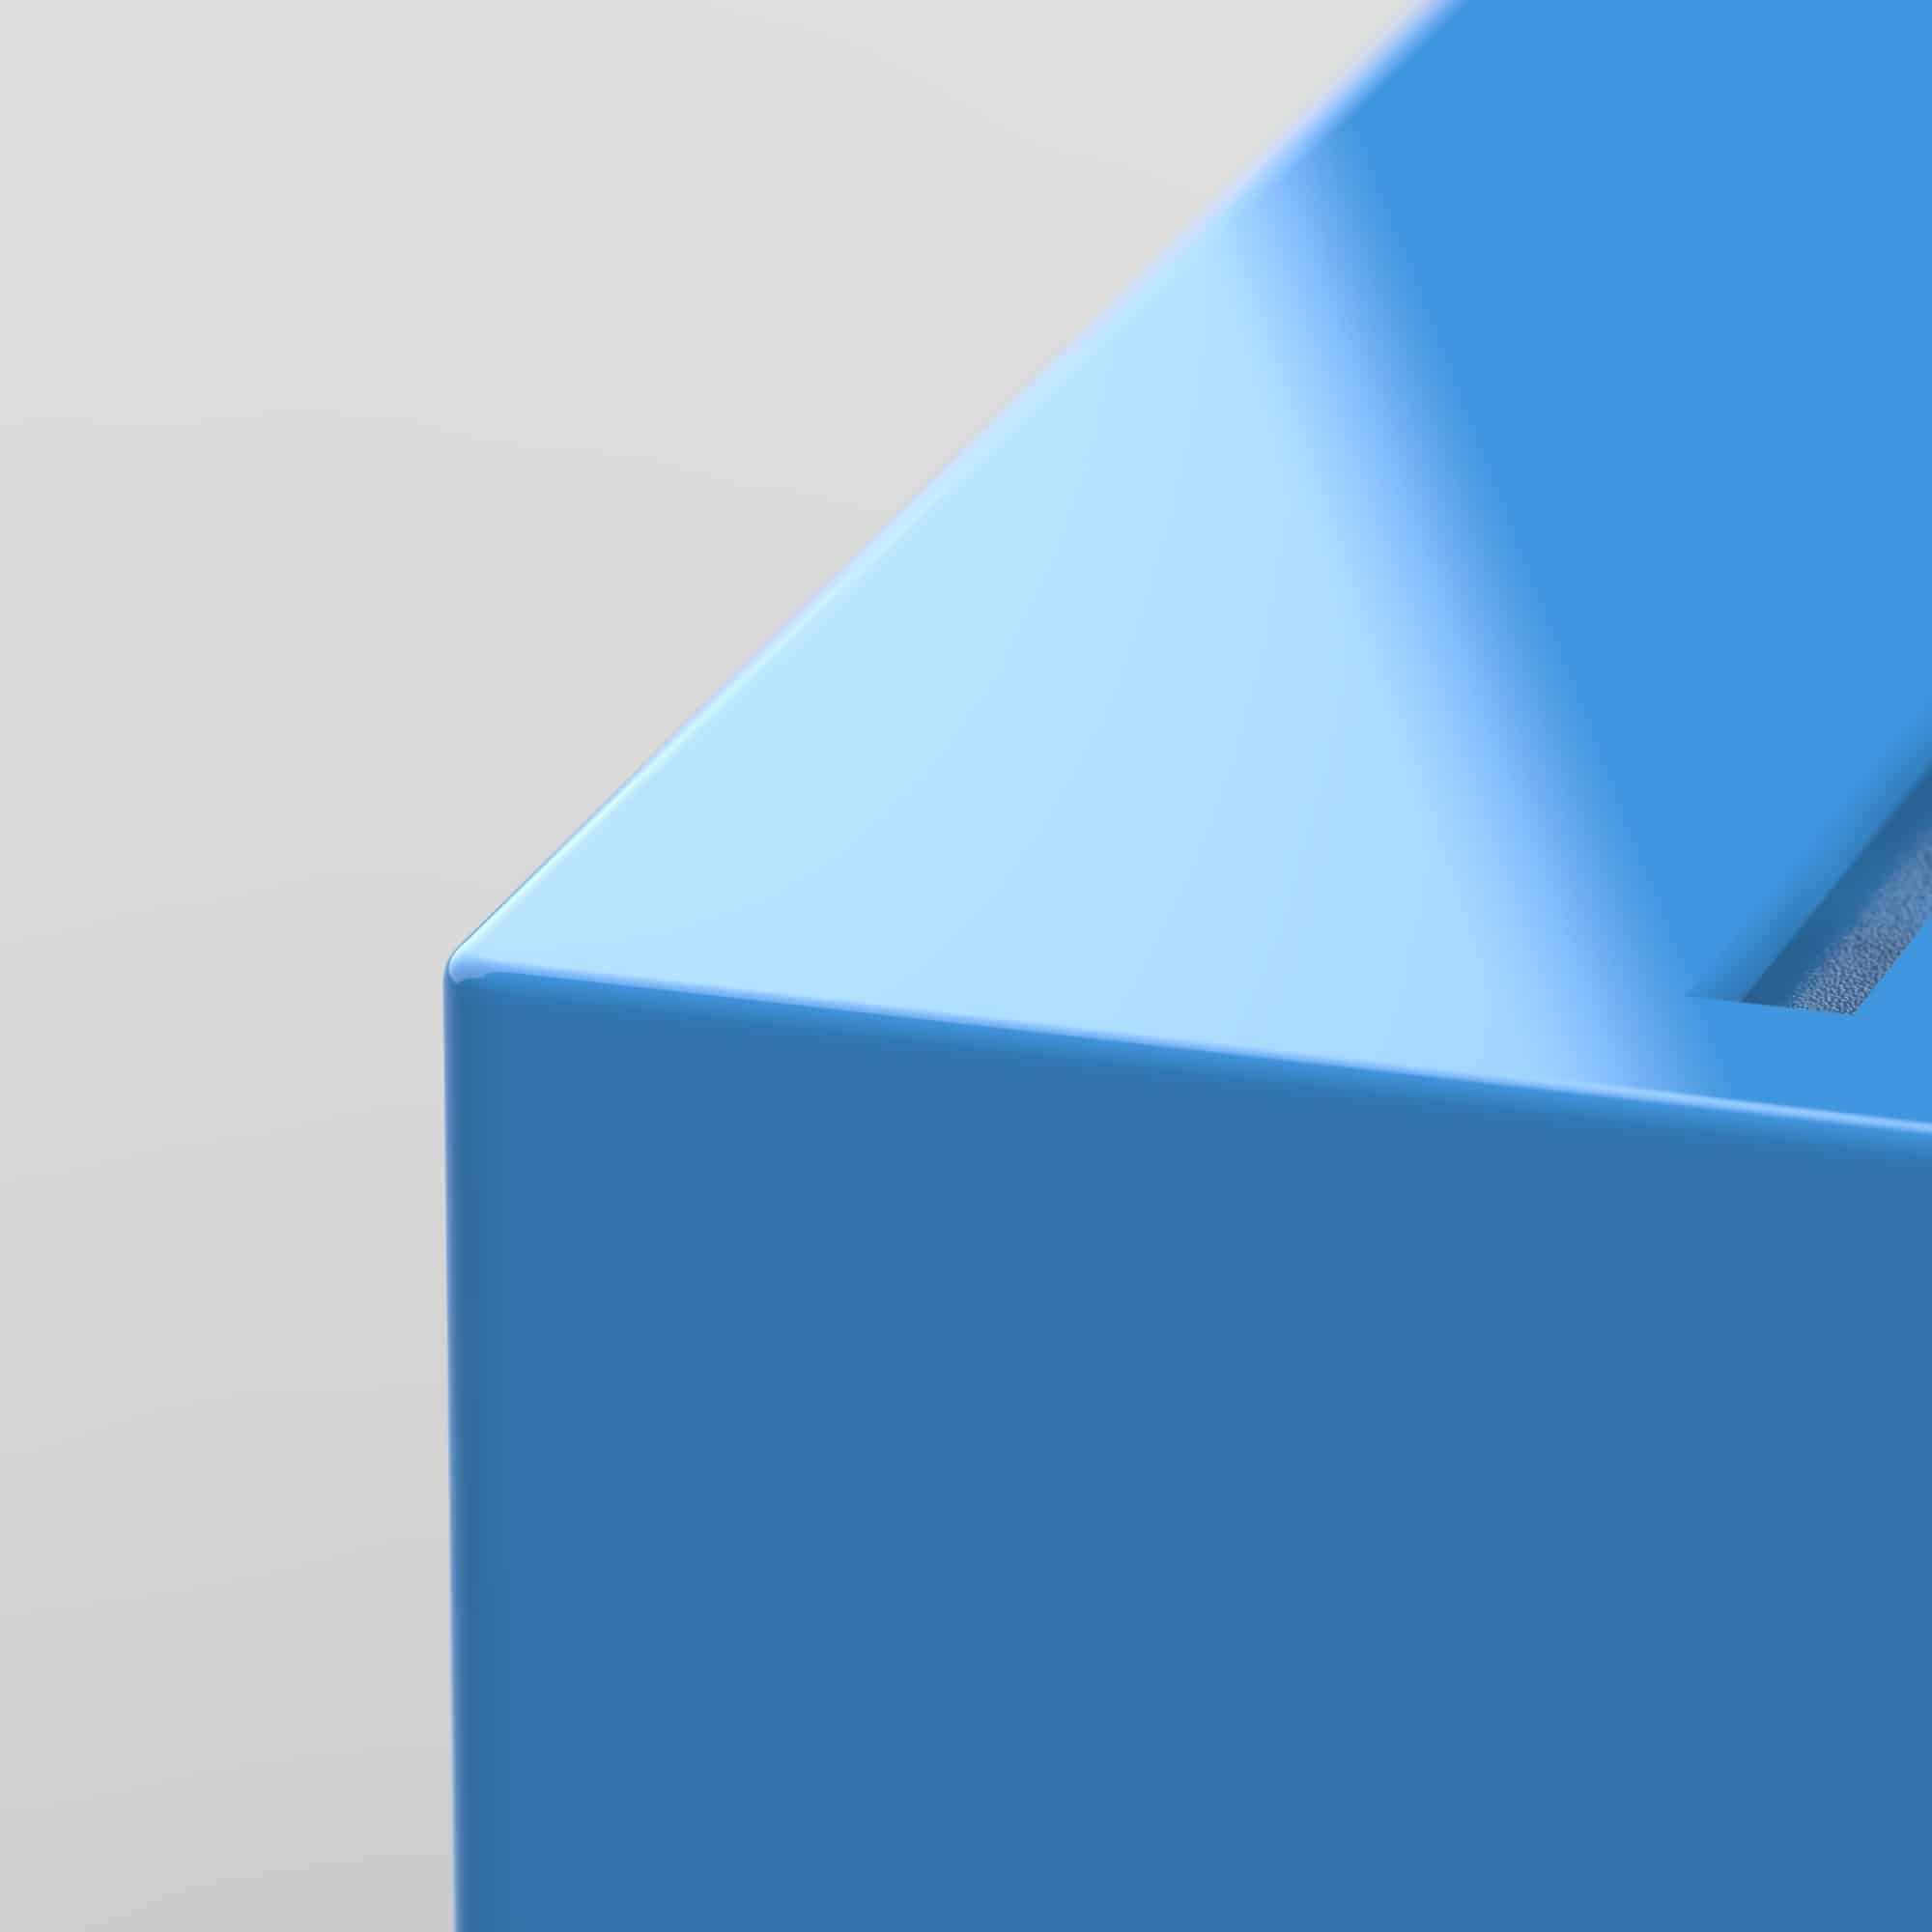
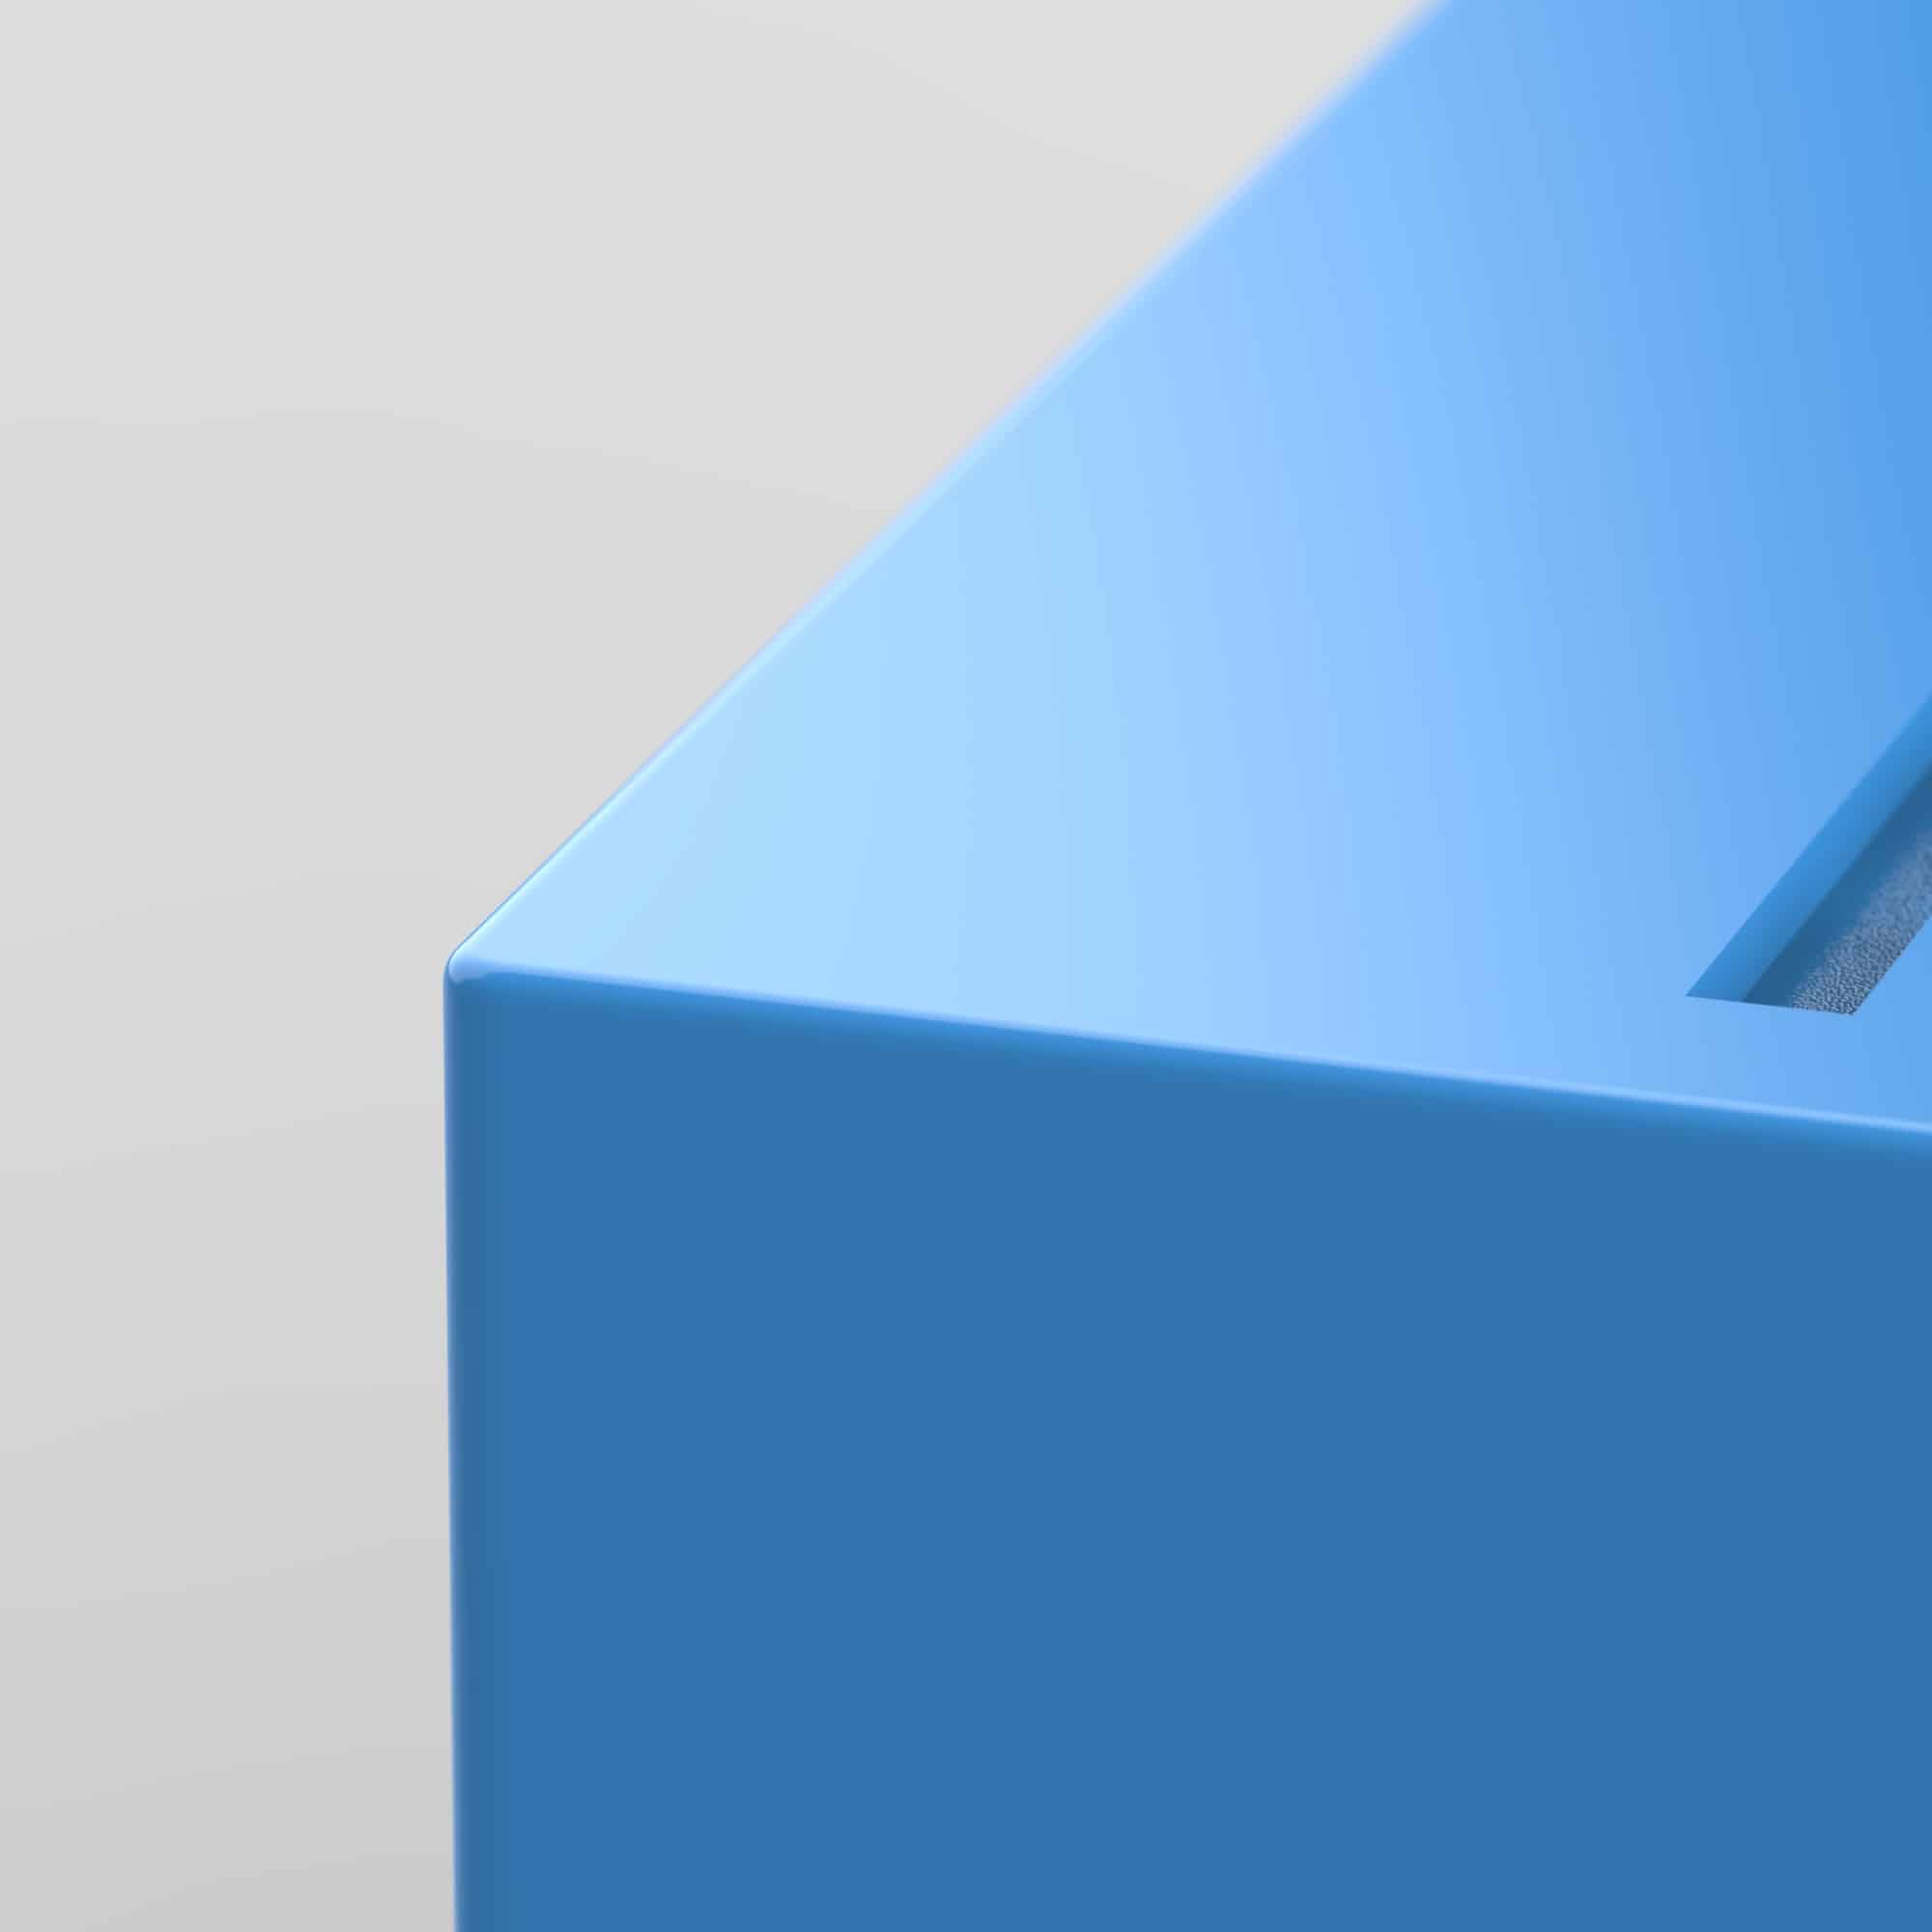
Break the Edges
An often-missed detail in achieving realism is adding a little radii to all the edges in your model. While the CAD model may have perfect geometry, with crisp edges, real world objects are rarely that sharp. A small amount of radius to break the edge makes the digital render look far closer to the actual product. So, do you have to go back into CAD and add fillets to every single edge in the model? No. KeyShot has a built-in feature that does it for you! The Project window has a Rounded Edges setting under the Scene tab; move the slider to add a small amount edge radius and voila!


Without edge radius vs with edge radius
Count the Samples
For the final output, it’s tempting to render for a set amount of time to give the best estimate for how long the render will take. This is rarely a good choice as the quantifying factor that affects the render quality is the number of samples. If you’re rendering multiple views of the same scene, setting them to the same sample number ensures that all the views of the product are of the same visual quality. On the other hand, if you set them all to a particular duration, some views might be harder on the workstation to render. This would take more time and end up with less samples (therefore lower in quality) than other views.

Render output settings
Pull Up the HUD
How do you know how many samples to set, you ask? Region view! If you’ve accidentally clicked on this and wondered why anybody would want such a small preview, here’s why. Enabling region view targets all the CPU cores to this preview area instead of the entire scene and allows it to quickly render. Use the HUD (H on the keyboard) to check the number of samples when the render preview region looks good enough. Once satisfied, set that as the target samples in your render output settings.

Heads-up Display
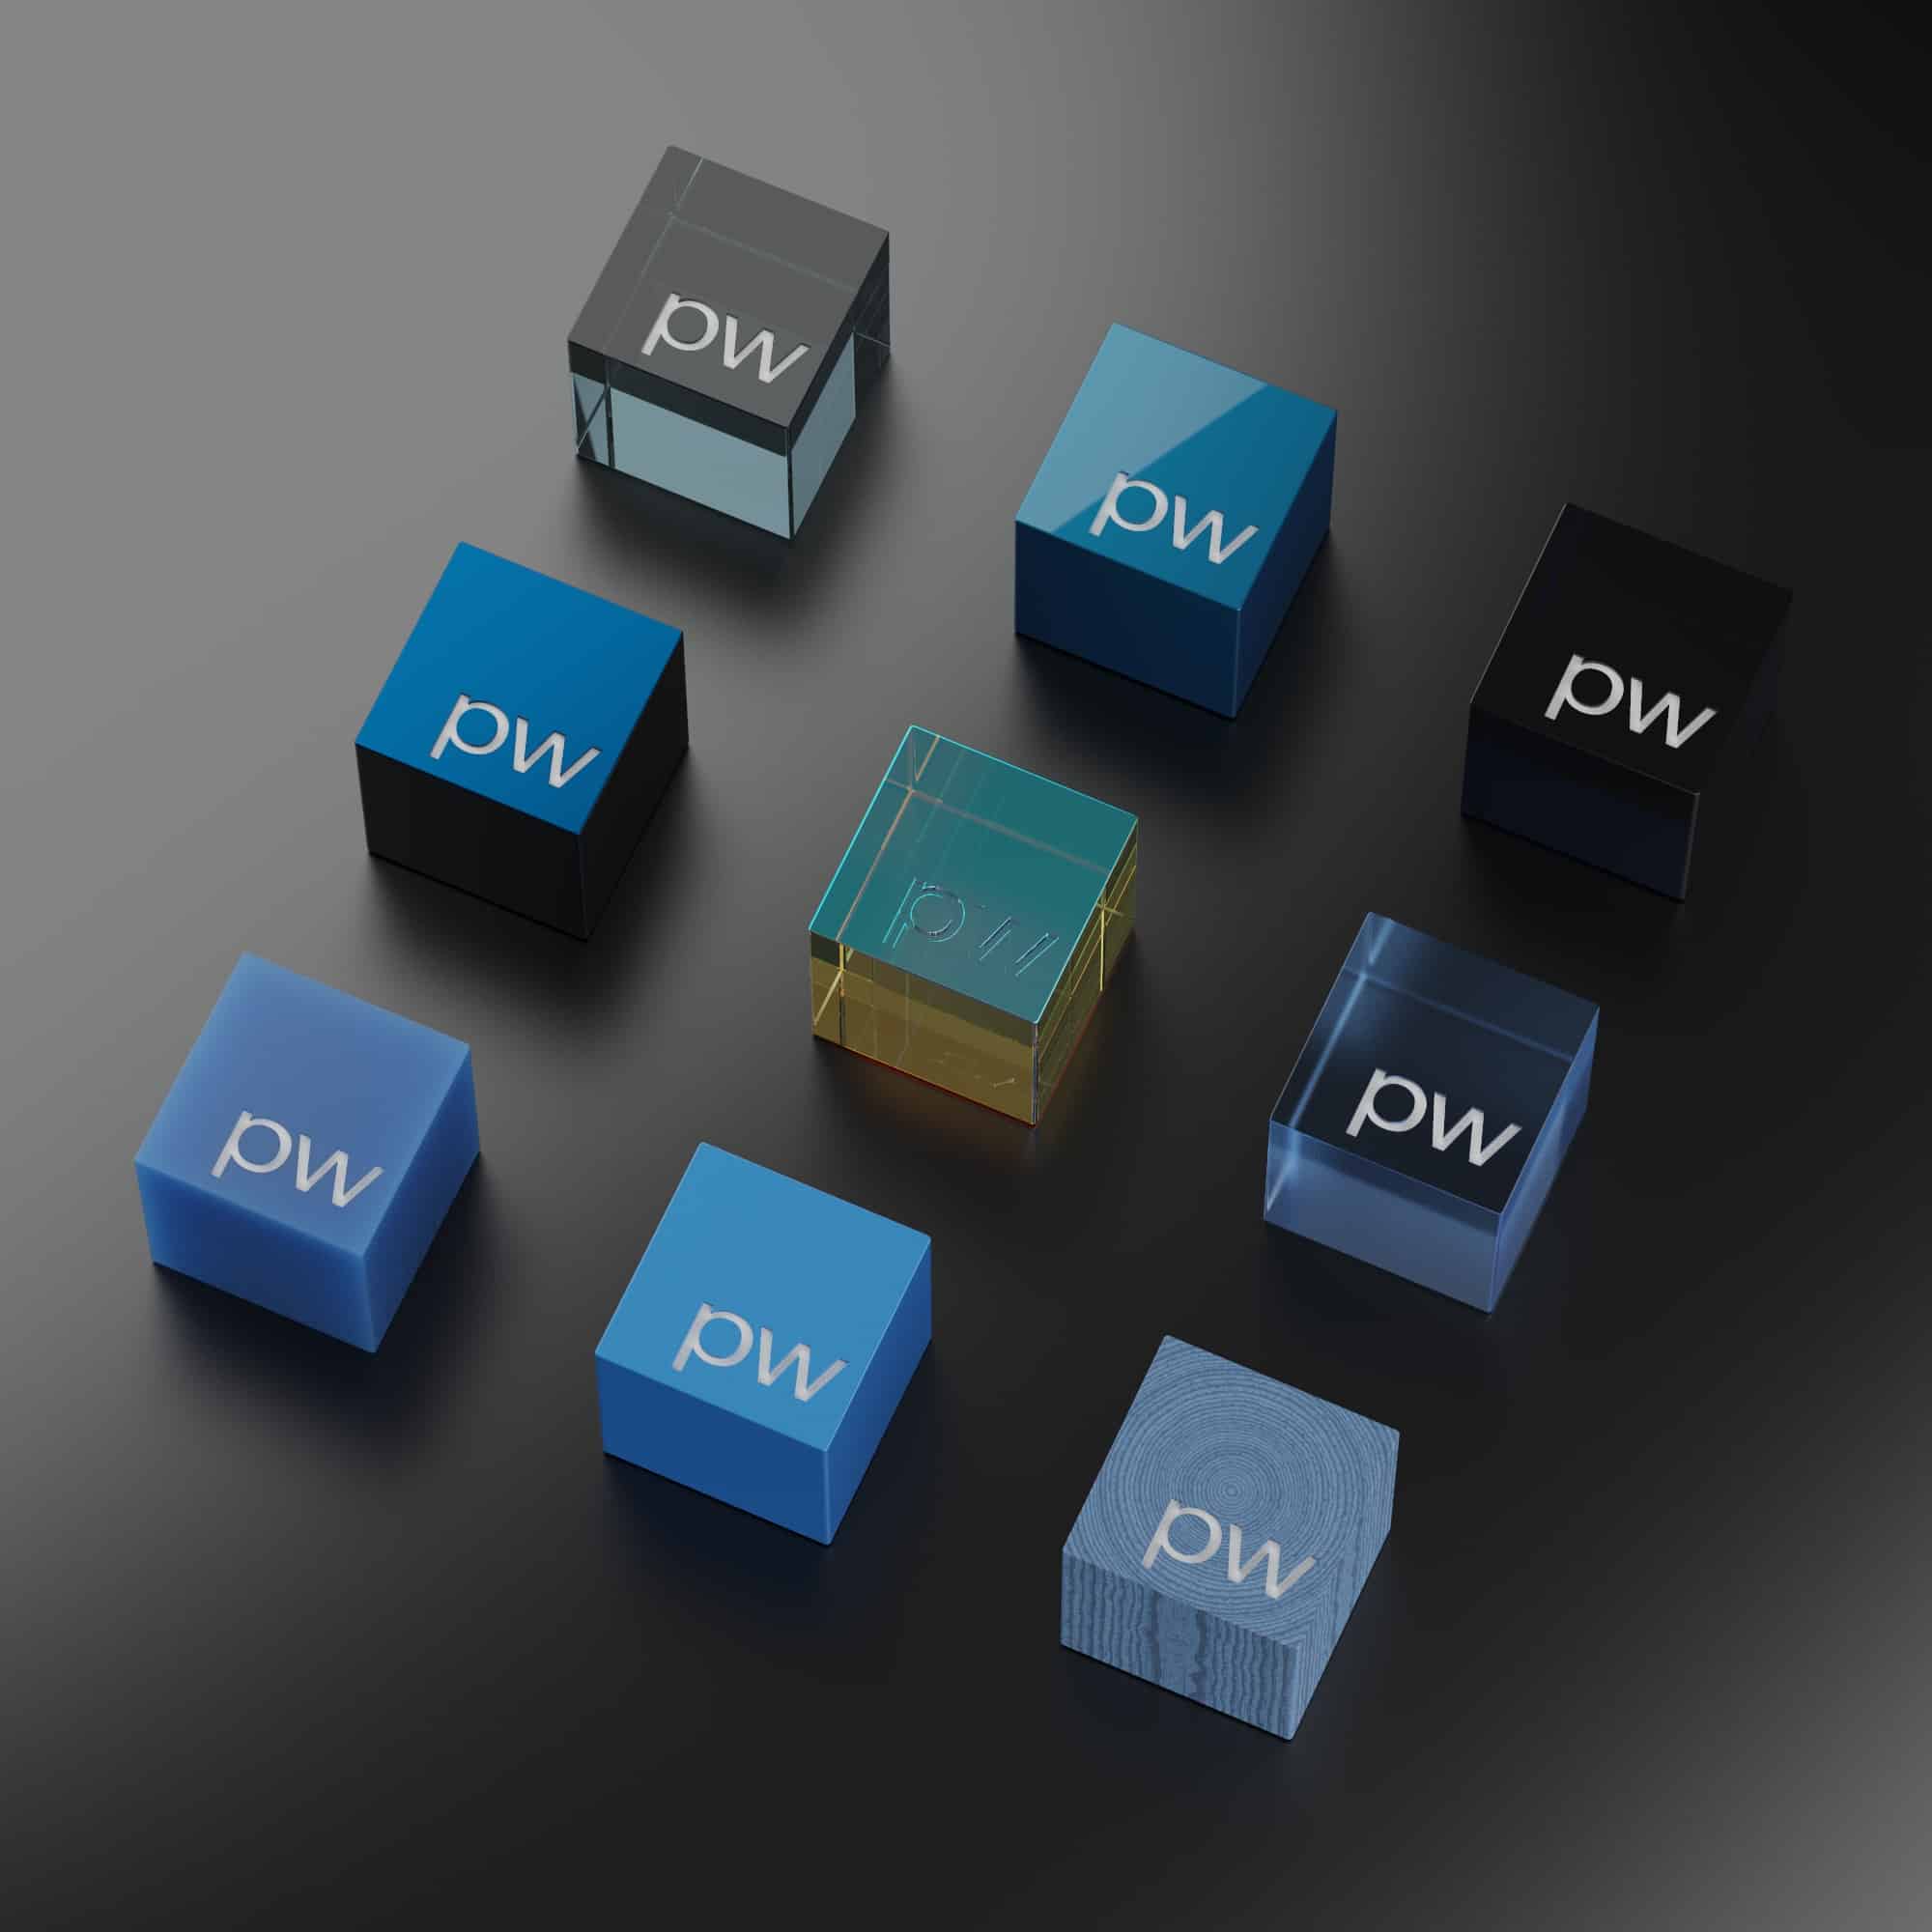
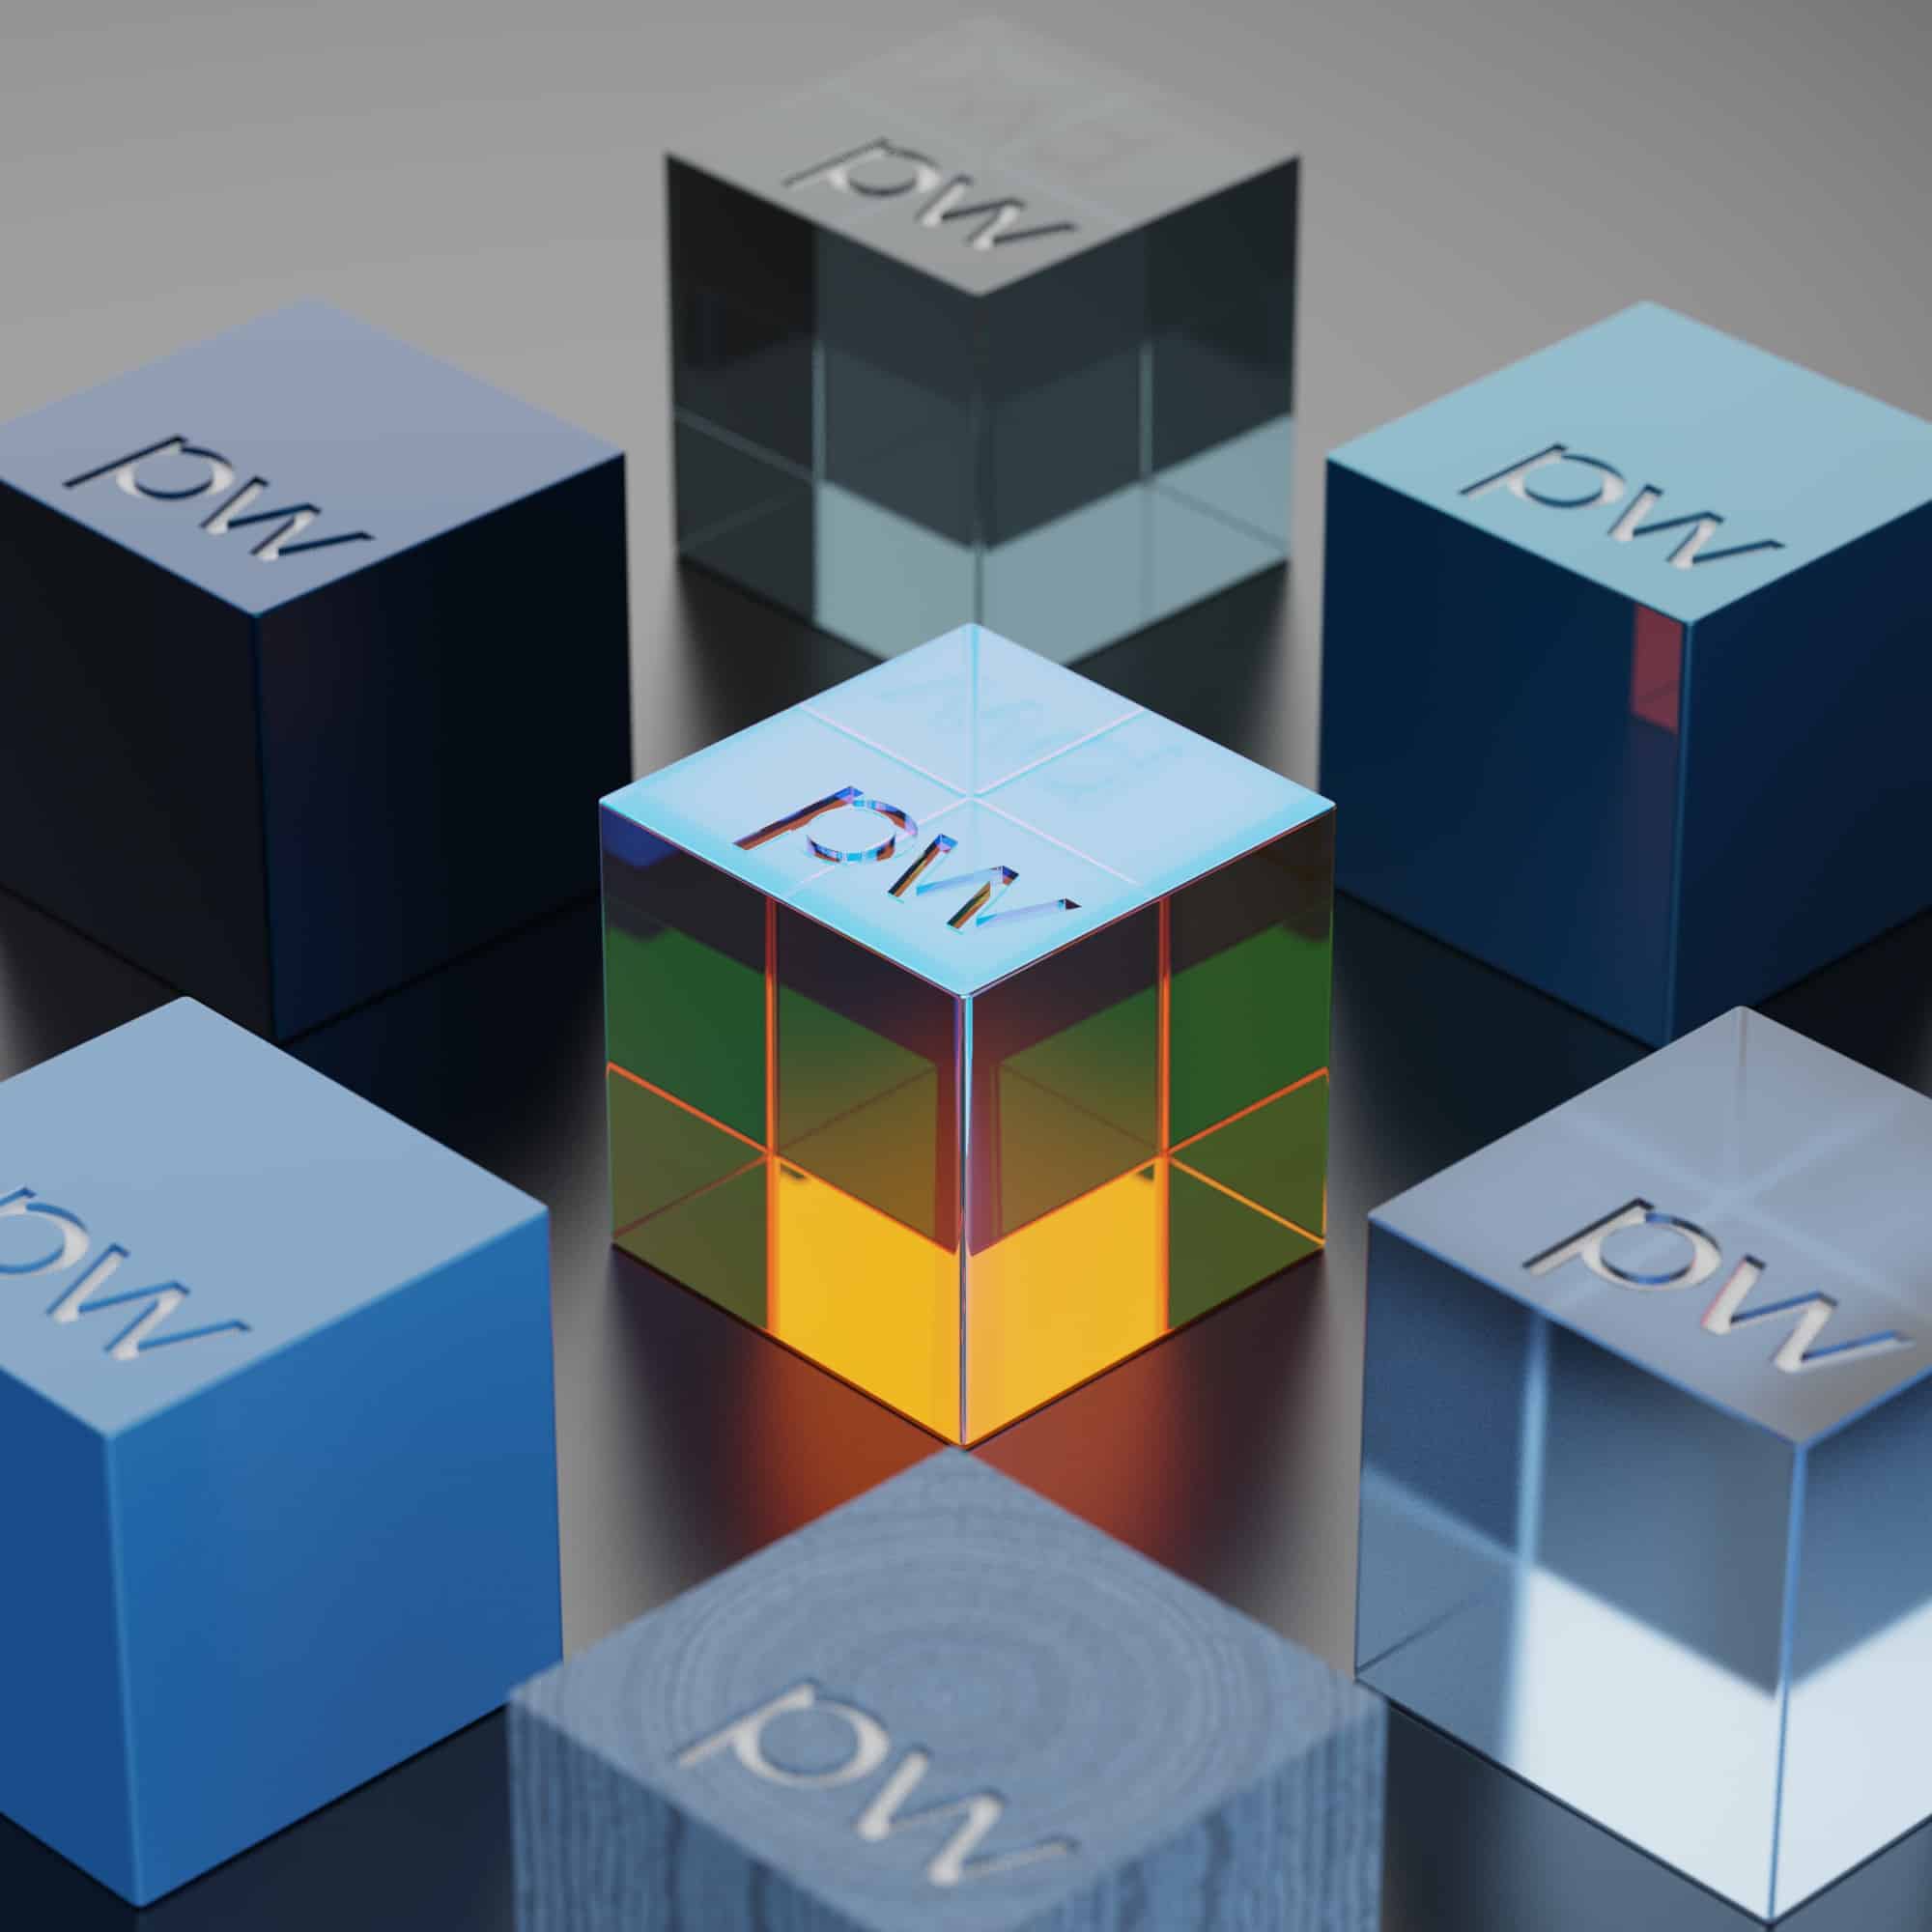
We hope these techniques help you in taking your renders to the next level. Here are some final render shots of various materials at 250 samples for your viewing pleasure:


